Painting & Finishing

Precision painting and finishing services.

Quality Paint Brands we Trust & Use

Luxury Construction’s General contractors are responsible for managing all aspects of your project, including hiring and supervising subcontractors, getting building permits, ordering supplies, and scheduling inspections. These contractors oversee all the subcontractors, such as plumbers, carpenters, and painters, to ensure that the job is done efficiently and to your satisfaction.

Paint By Luxury Construction

Expert painting and finishing services, ensuring a flawless look for your interiors and exteriors. Using premium materials for lasting beauty and resilience.

Years of Experiences
0
Projects Completed
0 +

We use Portola Painting

Ideal for smooth interior walls, our clay-based, knife-applied plaster finish gives a subtle modern/rustic look and feel.
Portola Paints is eco friendly and manufactured locally in Los Angeles.

We hand blend our paint in small batches to exacting standards. All of our colors are beautifully saturated and complex, creating unparalleled quality and feeling.

SPECIALTY FINISH. Data Sheets available upon request via email

With a broad range of applications including interior and exterior masonry, drywall and even historic restorations, our lime-based, brush-applied finish is as versatile as they come. Communicating with the environment in which you place it, this finish presents a subtle, yet dynamic patina that softens and variegates as it seasons.

What is Lime Wash?
Portola’s Lime Wash is a traditional lime-based finish. This natural brush-applied coating dries to create a beautiful weathered patina with subtle movement and natural color variation that softens and streaks with age. Due to its high PH, Lime Wash also acts as a mild fungicide, and is Eco-friendly – all while being formulated with zero VOCs!
This organic and highly breathable finish makes Lime Wash ideal for historic restorations, interior/exterior masonry and interior drywall applications. Our Lime Wash color palette features 60+ hand crafted colors designed to showcase the beauty of the soft but subtle finish of mineral paint. Each color was designed to give an organic feel.

Is this product suitable for my surface?
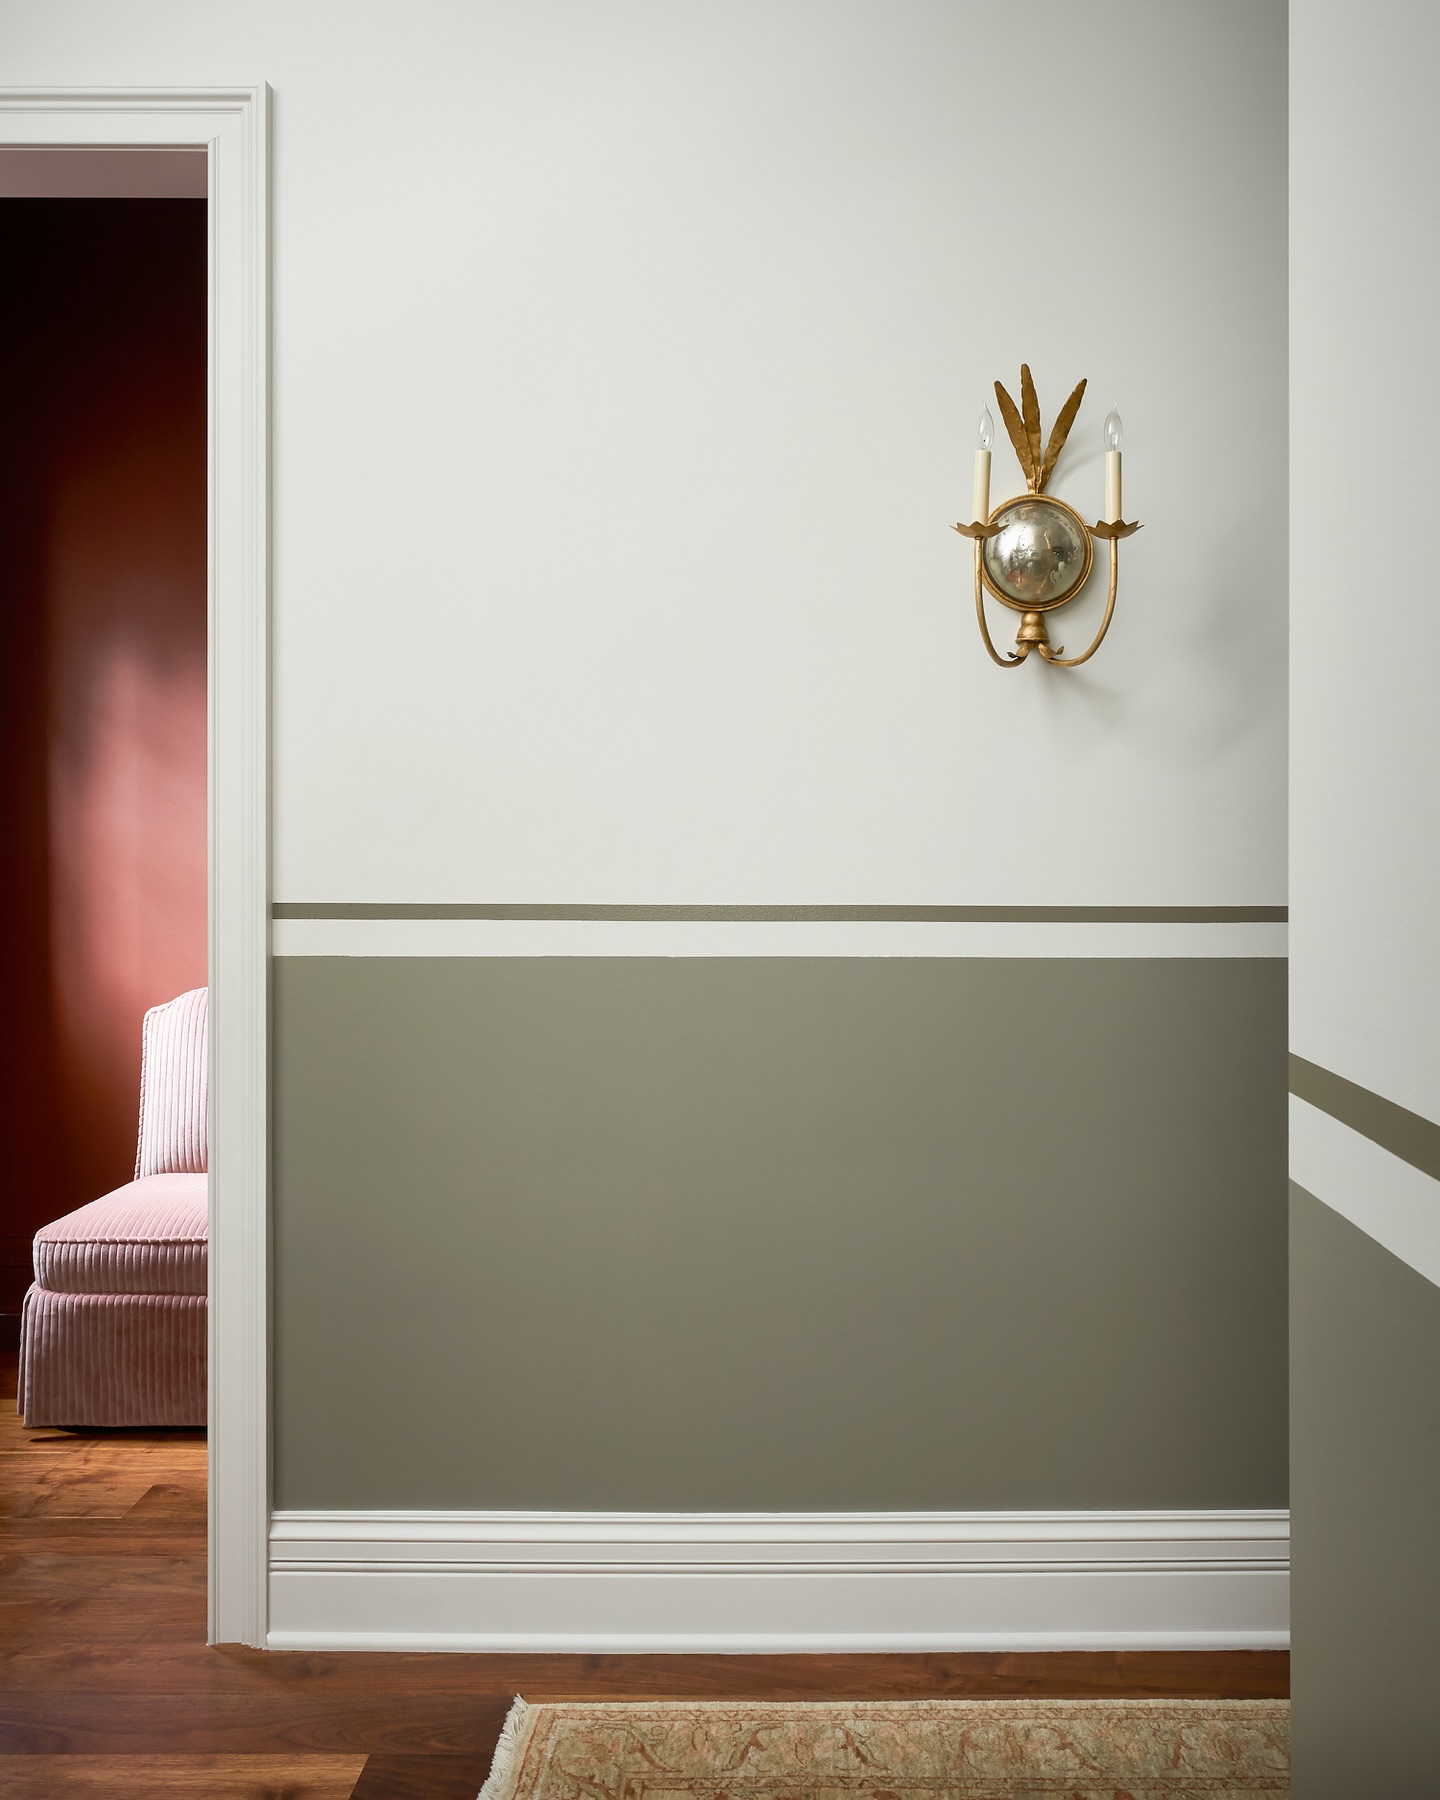
Portola’s Lime Wash finish can be applied to a wide range of surfaces and textures. However, your final outcome may vary depending on the surface. Lime Wash is not meant to mask or hide any existing texture that is currently on your walls or surfaces.  Lime Wash is NOT recommended to be applied on doors, trim, or mill-work as we recommend using something much more durable for those surfaces.

Coverage
These square footage estimates are based on the average to include two coats of coverage. 

1 Quart (40-50 sq ft)
1 Gallon (150-200 sq ft)
5 gallon (800-1000 sq ft) Don’t know how much material you need?

Preparation needed before application

For New Drywall Application: * Using two coats of an all purpose stain blocking drywall primer before applying either our Lime Proof Undercoat Primer or our Lime Wash finish. For Previously Painted Walls: * If your walls are already painted in a flat white finish you may apply our Lime Proof Undercoat Primer * If your walls are painted with a finish that has a sheen, lightly sand the surface, clean the surface of residue then proceed with our Lime-proof Undercoat.

Application

Step 1: Prime your surface
* Apply 2 Coats of our Lime Proof Undercoat Primer to provide the Lime Wash with a proper surface to adhere to. This will assist the Lime Wash with what we like to call the blooming process. * In some cases if your walls are already previously painted with an all purpose drywall primer you may be able to apply one good coat before starting your application. * Please allow for 2-4 hours minimum between coats of Lime Proof and starting your Lime Wash application.

Step 2: First Coat
Make sure you properly stir the Lime Wash before using to ensure that nothing is separated and sitting at the bottom of the can to allow for a more consistent color. Apply your first coat of Lime Wash. * When applying Lime Wash it is important to work corner to corner while maintaining a wet edge. Make sure you do not cut in around the edges as you would with traditional paint finishes. * Using a 4-6 inch stain/block brush, work your way across from corner to corner in a cross hatch pattern. Typically, each brush stroke should be approximately 1 to 2 feet in length. Do not stop your application halfway through and allow the material to dry as you will get seam lines showing through if you resume from the same area. Do not go back and try to fix or touch up areas once it begins to dry as you may get white flashes in the areas you try to fix/touch up. * Allow for 2-4 hours before applying a second coat.

Step 3: Second Coat
* If you are completely satisfied with the outcome and look from your first coat you may not want to apply a second coat. However, you typically want to apply a second coat for better hyde and to allow for more blooming and dimension. * Repeat step 2 for additional coats

Optional Step: Applying our Matte Wall Sealer
* Portola’s Matte Wall Sealer should be applied in the same fashion as the Lime Wash finish. (Please see Matte Wall Sealer for additional information) * It should be applied using the same 4-6 inch block/stain brush and should never be rolled or sprayed on. * We recommend adding 6-8 ounces of water per gallon to help with the adhesion to the Lime Wash finish as well as reduce the added sheen. * We recommend testing the sealer on all colors as results can vary.  * The Matte Wall Sealer is a water based sealer and was not designed to be waterproof or prevent oils or grease from staining.

Storage
Make sure you properly seal your can when finished between coats and once you are completed with your application. Please make sure you store the can in a cool area out of direct sunlight.

Care

For small scratches, flat acrylic paint matched in the same color can be used to cover up any scuffs or stains. You would simply dab the affected area with the flat paint. You can always recoat the entire wall with the Lime Wash finish to attempt to cover up something larger than a small scratch or scuff. If it is sealed using our Matte Wall Sealer, a damp rag can be used to wipe it down. Avoid heavy scrubbing as well as using harsh cleaning agents.  Touch-ups can be difficult and we recommend contacting our support team for the best advice before attempting any touch ups.

Safety

Store and keep out of reach of children. As with all paints it is important to protect yourself by wearing protective eyewear and masks during preparatory work such as scraping and sanding. During application, use protective eyewear as it can irritate the eyes.

SPECIALTY FINISH

Roman Clay

Ideal for smooth interior walls, our clay-based, knife-applied plaster finish gives a subtle modern/rustic look and feel, making it perfect for your traditional, old-world or contemporary setting. Though smooth to the touch, it offers a variety of bold, naturalistic textural effects like stone, stucco and marble you can almost feel simply by looking at it.


What is Roman Clay?

Portola’s Roman Clay is an eco-friendly plaster finish ideal for smooth interior walls. This decorative gypsum based plaster is made from natural ingredients, is zero VOC formulated, and lends a rustic originality to interior surfaces. Roman Clay is smooth to the touch with a modeling marble-like effect, comparable to Venetian plasters but with a more subtle, organic appeal at an affordable cost. Portola Paints Roman Clay is applied using a metal or plastic putty knife/trowel which provides a versatile finish able to achieve a wide range of stone, stucco and marble-like effects, making it a perfect fit in both traditional and contemporary settings. Achieve a natural, ultra low sheen finish by leaving the final coat un-sanded or add a protective seal and slight sheen with Portola’s Roman Clay Topcoat. Roman Clay is available in 65+ standard colors designed to showcase color palettes that are found in the beauty of nature. **You may also want to consider our Portola Paints Lime Wash for a more subtle brush applied application if our Roman Clay is not suitable for your project.**


Is this product suitable for my surface?


Roman Clay was designed for smooth interior drywall preferably level 5 for the best results. Our Roman Clay was NOT designed for exterior use or millwork. We recommend our acrylic / enamel series for these specific applications.


Coverage


Our Roman Clay is sold by weight not volume. These square footage estimates are based on the average to include both a base coat and final coat.

1 kilo (Approx. 20 – 25 sq ft)
5 kilo (Approx. 100 – 125 sq ft)
10 kilo (Approx. 200 – 250 sq ft)
20 kilo (Approx. 400 – 500 sq ft)

Need assistance calculating your square footage?


Preparation needed before application


For new drywall surfaces:


We recommend prepping for a level 5 drywall surface then applying a stain blocking drywall primer with a ⅜ to ½ nap roller for the best application. You may also lightly sand the primer to remove some of the texture left from the roller. We recommend you always wear the proper face masks when sanding. It is always recommended to speak with your general contractor for the best practices in accomplishing the smoothest surface.


For previously painted walls:


If the surface has already been previously painted with a flat white finish it is typically fine to begin your Roman Clay application. However, the best practice is to prime the surface with a stain blocking primer to prevent any of the existing history of your walls from showing through. Oils and existing stains can show through if not properly prepped.


PRO TIP:
You may want to use our Ultra Flat Acrylic Paint in the same color as a base coat after you prime the surface for a much smoother and quicker application.


Application


Step 1:
Primer Sanding the primer to get rid of nap roller texture can help with application.


Step 2: Base Coat of Roman Clay Use a larger stainless steel putty knife/trowel unless the space is small 8-10 inch metal or plastic knives for larger surfaces. 6 inch metal or plastic knives may be used for smaller surfaces. Pull knife with material 3 to 4 ft strokes Thinner material is pulled, faster it will dry and more quickly it can be recoated Make sure it’s covered approximately 60-70% opaque Let dry for 2-4 hours.

Step 3: Lightly sand high or rough spots with 400 grit sandpaper Wipe off excess residue with clean, dry or barely damp painters rag Detail corners and edges.


Step 4: Final Coat Process This is where you will start to see more highlights and movement Should take half the time of base coat Put it and take it technique (thin coats show more movement) Shorter strokes Pressure can affect the highlights/variation.


Optional Step: Applying our Roman Clay Topcoat Portola’s Roman Clay Topcoat should be applied just like the Roman Clay finish using a putty knife/trowel applying the material in a thin/tight coat If the finish has any high or rough spots you should sand it down with the same 400 grit sand paper before sealing it to avoid applying excess material. Not sanding before sealing the finish may result in milky or discolored areas.


Pro Tip: If the finish is applied in a high moisture area, multiple thin coats of the sealer may be applied for added protection.

Please Note: Portola’s Roman Clay Topcoat does NOT waterproof the finish. A barely damp rag should be used to wipe down the sealed or unsealed finish to try to avoid permanent water marks from penetrating the finish.


Clean up / Storage

Roman Clay should be stored in a cool area out of direct sunlight.

For the best storage we recommend using a spatula to clean the sides and lid of the bucket to prevent material from drying up and falling into the material at the bottom.


Care


For high traffic areas we recommend our Roman Clay Topcoat sealer. This sealer will protect from basic dirt and wear. It is not resistant to some oils or liquids – so it is not recommended for areas with constant direct contact with water, or where grease or harsh chemicals might come in contact (i.e. kitchen backsplash).

As long as the sealer (Roman Clay Topcoat) has been applied on top of the Roman Clay it is washable with light cleaning detergents. It is recommended to use a little mild dish soap in warm water with the soft side of a sponge to clean scuffs.

We would also recommend re-applying the sealer every year or so just to add an extra layer of protection if the Roman Clay is in high traffic areas.

For small scuffs that won’t come out with soap and water you can use a very fine grit sandpaper on the area to remove it. If you do this you will want to apply a thin layer of the protective sealer on to the sanded area. You can consider buffing in the sealer with an old t-shirt or a painter’s rag.

If there is a deep gauge there may be a need to apply a thin coat of the color and a layer of the sealer once the color is repaired.

Safety

Store and keep out of reach of children. As with all paints it is important to protect yourself by wearing protective eye wear and masks during preparatory work such as scraping and sanding. During application, use protective eye wear as it can irritate the eyes

Luxury. Everywhere.

Traditional Finishes

Acrylics and enamels in a variety of hand-crafted hues for interior or exterior surfaces.

Which product is right for my project?

Portola Paints is proud to offer a wide range of traditional water-based house paints that range from Zero to Low VOC formulations.

Our Acrylic line offers a selection of interior/exterior wall coatings, and our Enamel line offers the highest technology in hard-wearing paints.

For help deciding which finish is right for your project please see module below.

Coverage

These square footage estimates are based on the average to include two coats of coverage.

1 Quart (25-50 sq ft)
1 Gallon (100-200 sq ft)
5 gallon (700-1000 sq ft)

Need assistance calculating your square footage?

Preparation needed before application

Move all furniture away from surfaces that need to be painted and ensure furniture is covered with a drape or canvas drop cloth.
Ensure ceiling, walls and trim are free of dust.
Fill any nail holes and smooth out the walls as needed and clean the surface of any new residue.
Use painter’s tape on surrounding edges for clean application.

Application

Step 1: Prime your surface For New Drywall Surfaces: Apply two coats of a water based, all-purpose, stain blocking drywall primer. Please allow for 2-4 hours minimum between coats of our All Purpose Base Coat before starting your paint application.

For Previously Painted Walls:

If your walls are in good condition and have a flat/matte white paint you may apply your new acrylic paint directly over your existing paint. If your walls are painted with a finish that has a sheen, lightly sand the surface, clean the surface of residue then proceed with a water based, all-purpose, stain blocking primer. If your walls have any stains, a water based, all-purpose, stain blocking primer is highly recommended.

Step 2: Paint Make sure you properly stir the acrylic paint before using to ensure that nothing is separated and sitting at the bottom of the can to allow for a more consistent color. Our traditional paints can be rolled, sprayed or brushed on. Please allow for 2-4 hours minimum between coats. For optimal results and good coverage, two coats are recommended. Once you’re done painting and while the paint is still drying remove tape at a 45 degree angle. Have a damp painter’s rag handy in case paint seeps. Peeling can happen if you wait to remove the tape once the paint is dry.

Pro Tips: We encourage you to work from top to bottom. This means paint your ceiling first and work your way down. Cut in edges with a brush then proceed to paint. Do one wall at a time. To avoid getting paint on your freshly painted ceiling with the roller, make sure you paint a thicker border by the ceiling. Leave your trim as the last step to avoid getting paint splatter on it while painting your walls.

Clean up / Storage

Make sure you properly seal your can when finished between coats and once you are completed with your application. Please make sure you store the can in a cool area out of direct sunlight.

Safety

Store and keep out of reach of children. As with all paints it is important to protect yourself by wearing protective eye wear and masks during preparatory work such as scraping and sanding. During application, use protective eye wear as it can irritate the eyes.

WHICH FINISH IS RIGHT FOR MY PROJECT?

Traditional Painting Process – Step by Step

There are few things that can make your Los Angeles home shine quite like a fresh coat of paint.

Luxury Construction are experts in both interior and exterior painting. From accent walls to a full exterior or interior repaint, no project is too big or too small for our professional painting contractors in Southern California.


Interior Painting

Indoor painting services can refresh every room in your home and make the whole space updated and beautiful. Our professional painters can paint any interior surface in your home, including doors, cabinets, walls, and trim. Because paint can set the vibe for your whole living space, it’s important to know what colors will achieve the desired vision. We can help you choose from the thousands of paint color options available for your interior space. We will also help determine the sheen which is best for your situation (flat, matte, eggshell, satin, semi-gloss, gloss, or high gloss finishes). In addition, we may recommend washable paints for easy clean-up in rooms used by children and/or pets.

Exterior Painting

Over time, weather will wear down your home’s exterior surfaces and your paint will either begin to fade, crack, or peel off. If you need outdoor painting services, we can help you protect your home from the weather. We also can help repair wood damage or wood rot if your home needs it. Keeping your exterior paint fresh will help you to avoid costly future problems, and increase your home’s value. We always use the highest-quality paint and stain products and we fully guarantee our work. From trim to siding, wood to stucco, decks to fences, we can help with all your exterior home painting and staining needs.

Commercial Painting

When you need to have your business painted, you have a different set of requirements than for a residence. You will need a company that can work quickly and efficiently so you that you can get back to normal business as soon as possible. When you work with Luxury Construction, you will be hiring an experienced professional painting contractor company. We will handle all of the prep work and of course the cleanup to ensure that when we leave, every part of the building will be back in working order. Whether you need interior or exterior painting, and whatever the size or shape of your building, our commercial painters can handle the paint job with the highest level of quality and professionalism.

Related Luxury Construction Services

Experience Luxury Construction brilliance in every solution we offer.

Quality Assurance

We’re simplifying the home renovation experience every step of the way.

Tailored Solutions

Deep dive into your remodel goals & dreams. Get a personalized project plan & proposal

Holistic Research

Achieve a holistic approach to building material specification.

Timely Execution

We’re simplifying the home renovation experience every step of the way. Seamless design-build handoff, fastest turnaround.

Adaptive Methods

We configure different versions according to the variables affecting them (spatial, temporal and associated with building characteristics) to suit different evaluated projects.

Skilled Professionals

Top 3% of contractors — local, vetted, licensed and insured. We work with the best contractors